Installer portal commissioning
Installer portal commissioning
This guide will run through a portal commission and advise on input parameters to follow during the commission of both a GivEnergy Hybrid and AC coupled inverter.
Please note access to this tool is only granted to GivEnergy approved installers who have ran the GivEnergy training course. If you do not yet have a login please contact your wholesaler for this.
Accessing the commissioning portal
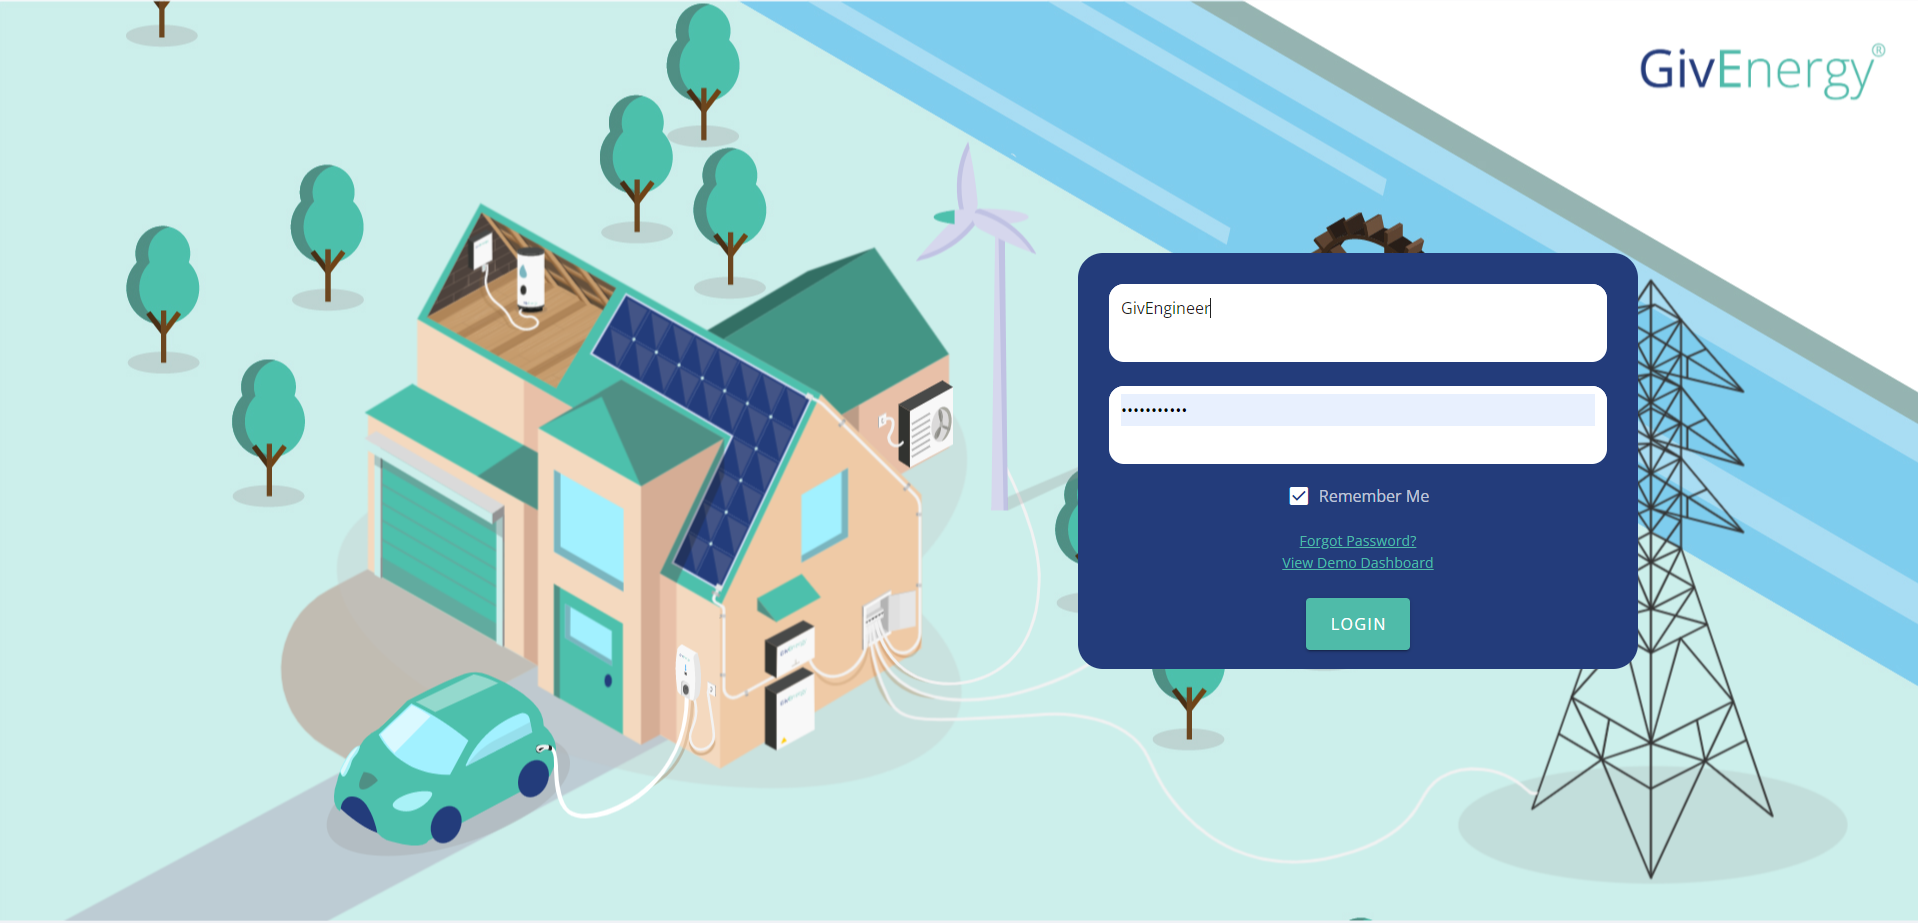
Sign into the online portal at https://portal.givenergy.cloud with your GivEnergy login, and sign in as an engineer - if first time use and if you do not yet have an engineer login, go to account list > create engineer account > sign out and sign back in with the engineer login.
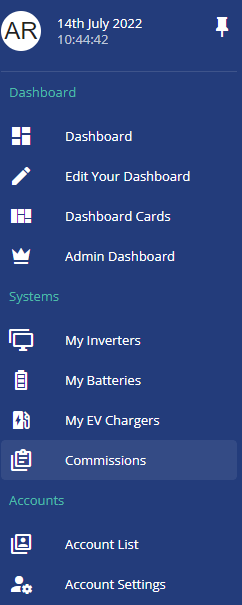
When the customer is created go to commissions on the side bar as per the below
Step 1 - start the commission
On the commission, select your customer, if this has not yet been created press create user

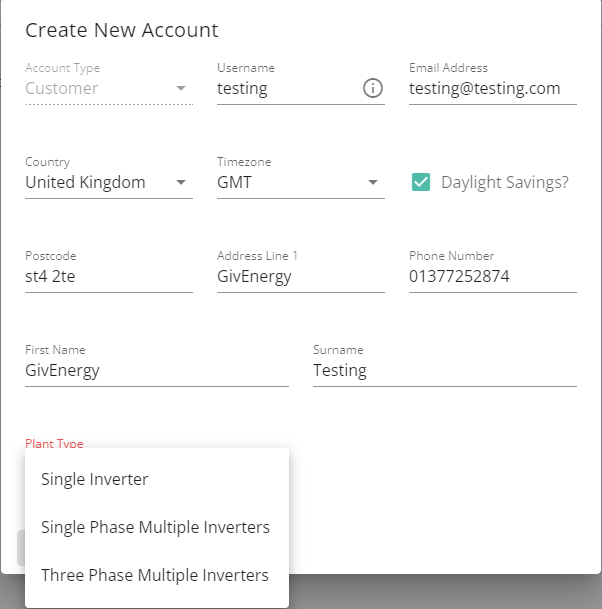
Fill in the user details, and select the plant type as per the below
Single inverter - A single inverter on a single incoming supply phase
Multiple inverters single phase - When installing dual inverters on the same incoming supply phase
Three phase multiple inverters - when installing multiple inverters on multiple phases
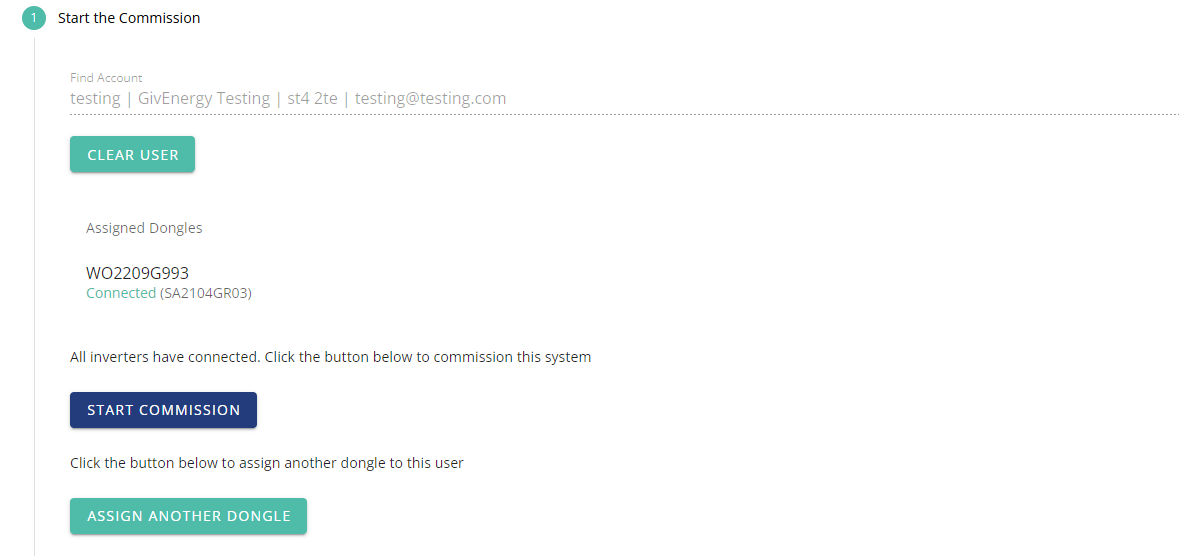
Once created, a new option will come up to assign the dongle, fill in the serial number and VC code on the dongle.
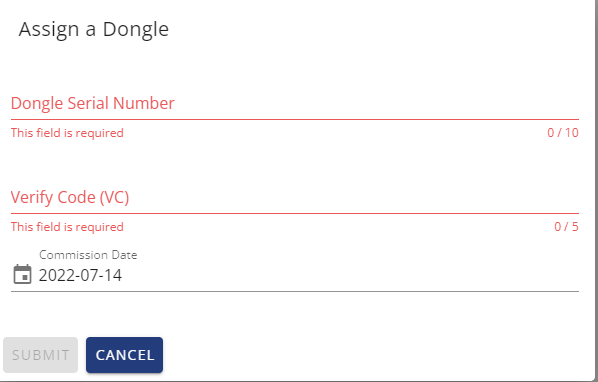
Once you have pressed submit, and the dongle is connected press start commission
Step 2 - Record system hardware
Next you need to input the data for what is being installed, for install parameters please read this carefully as if this data is input incorrectly, you will need to contact GivEnergy to start this process again.
Please note - if any of this information is relevant in the install, use the skip option on the side as per the example below
PV for AC coupled
For AC coupled model inverters, you need to input the PV per INVERTER that we are monitoring either with the CT clamp or a meter.
Examples below
- If monitoring a single PV inverter with either a CT clamp or meter you input this as ONE string
- If you are monitoring multiple PV inverters with 1 clamp you input the total panels over all inverters as ONE string.
- If you are monitoring multiple PV inverters with multiple meters (ID2 and ID3) you input this as SEPERATE strings.
PV for Hybrid
For the Hybrid model, please input the data of the panels connected per tracker on the inverter.
Examples below
- If one string, record one string and input the amount of panels on that string.
- If two strings, record both strings and the panels on each string.
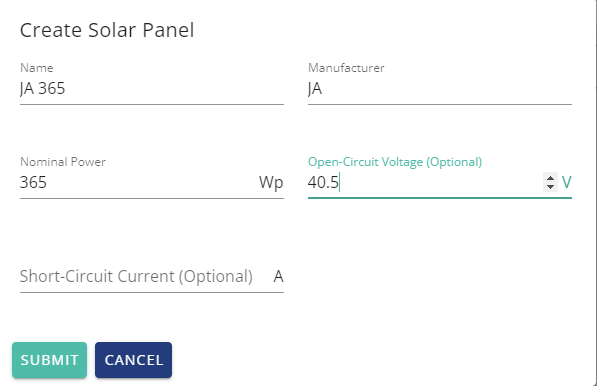
When adding the PV, select your panel manufacturer and power rating, and input the details as per above.

If the panel you’re using is not in the list, feel free to press the add option

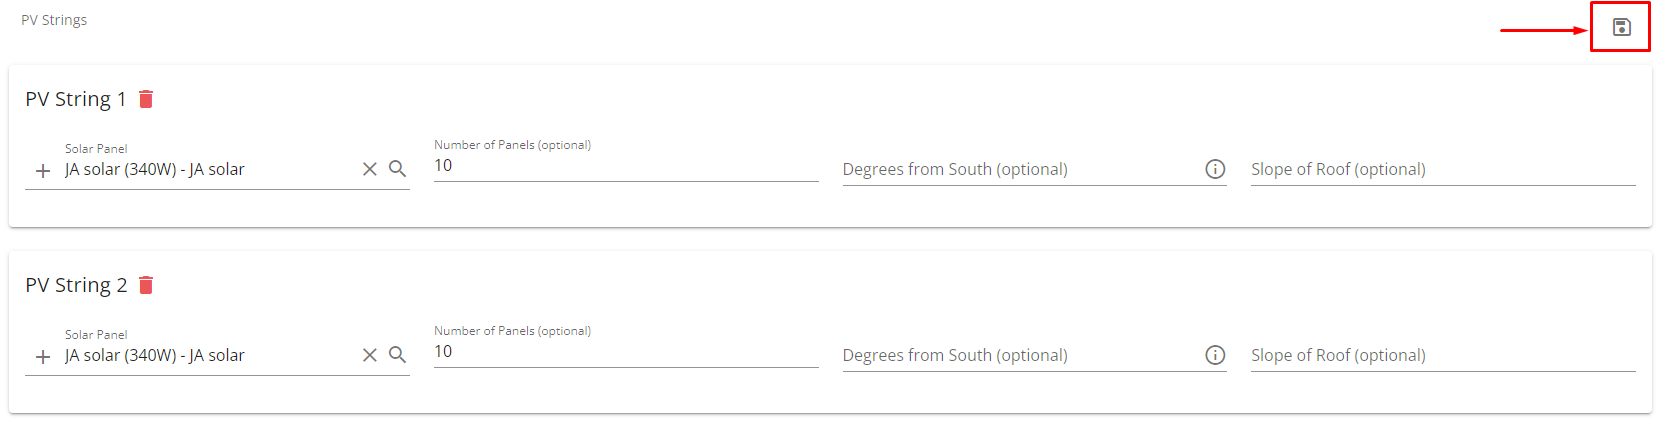
To add additional panels, select the to input a second string

When happy with the information, press SAVE
Metering
When adding the meters, select the grid meter first, input the serial number and the initial reading which can be found on the meter screen under kWh, and select LORA’s if using this.

To add additional meters, select the and input the information again.
Please note that this information is only relevant to AC coupled inverters monitoring PV systems with a digital meter. If using the blue CT clamp you can skip this.
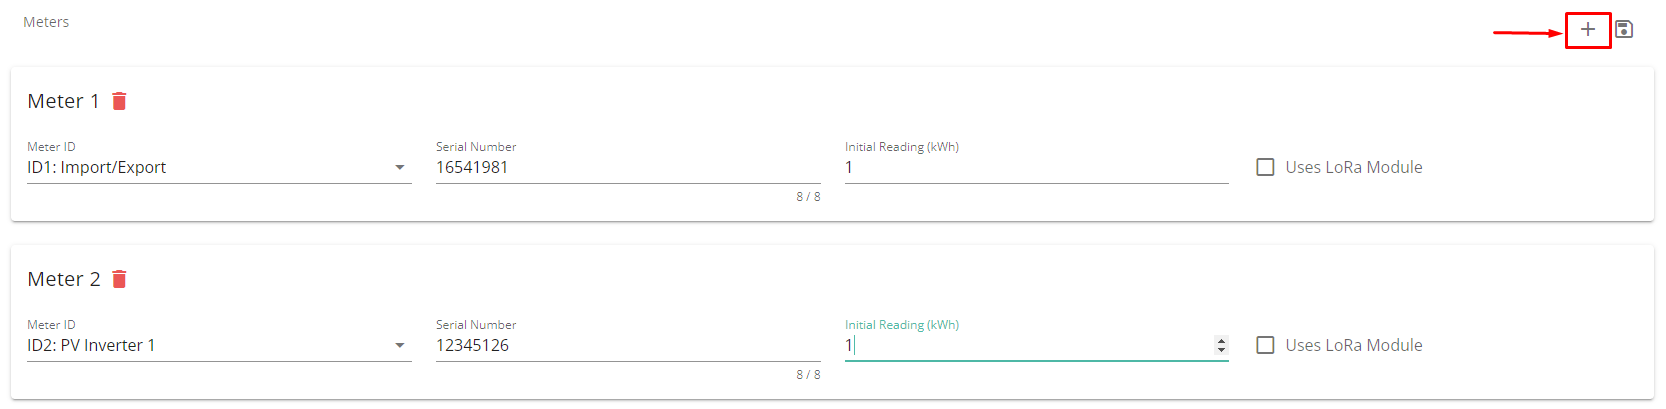
When happy with the information, press SAVE

Battery
For batteries, find the model number and serial number which can be found on the sticker on the side of the unit. Input this data as per the below.
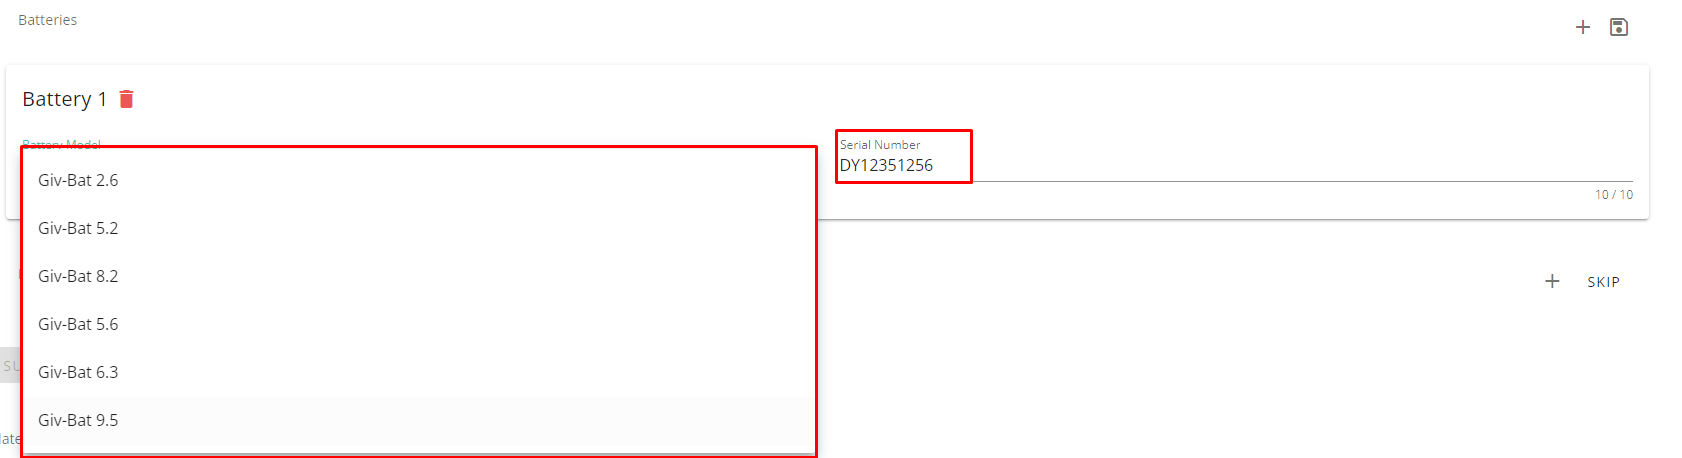
To add additional batteries, press the and input the data
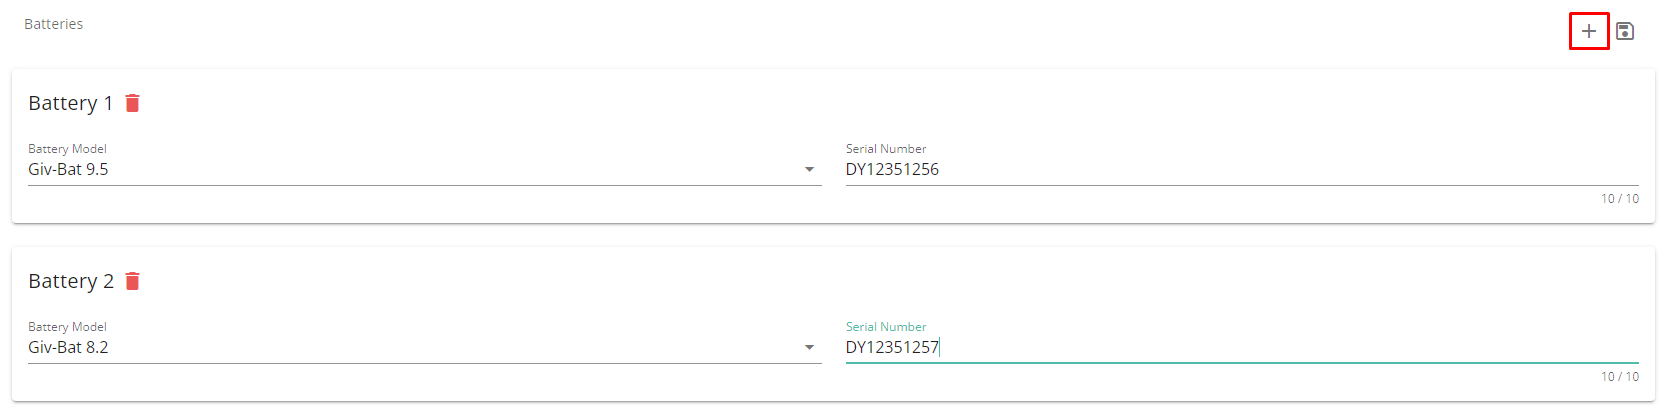
Once satisfied, press save

EPS
For the emergency power supply, please select which method used and input any additional data, when input press save
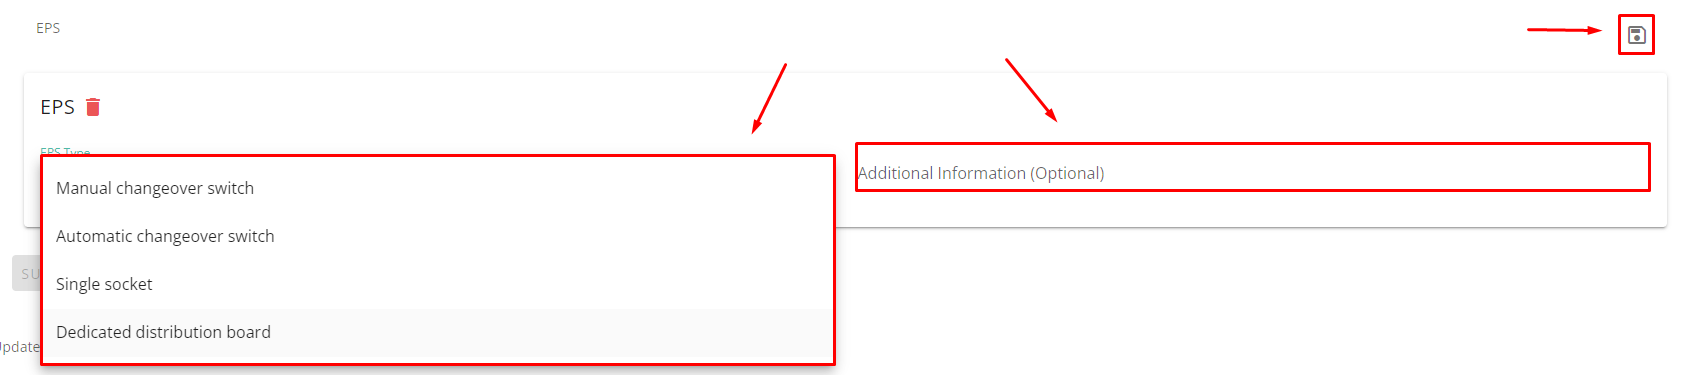
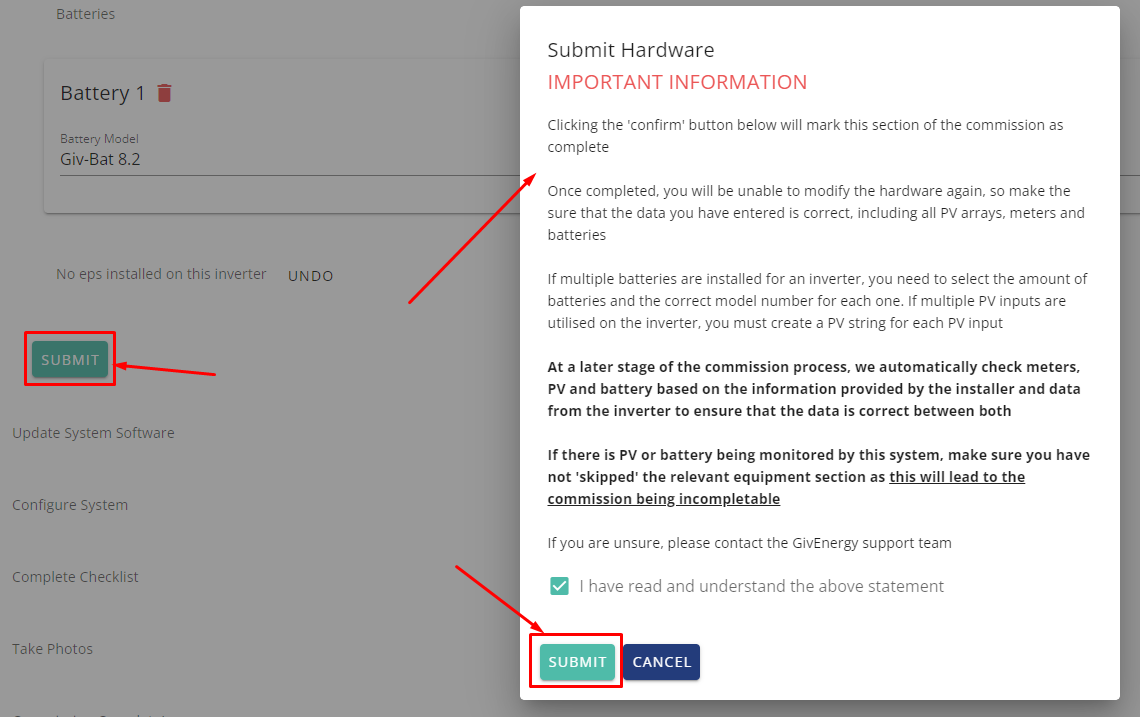
Once all information has been input submit the information and carefully read the disclaimer, you cannot change the information input so please ensure this is correct.
Step 3 - Update system software
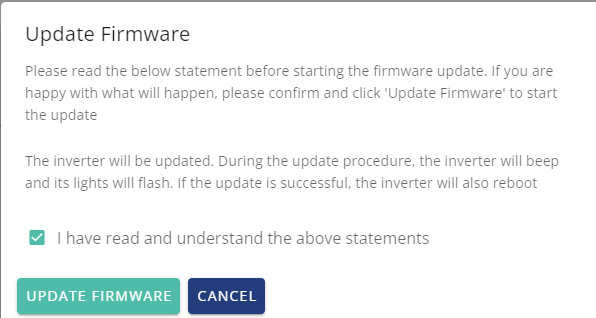
If your software is out of date, the system will give you the option to update.

When ready press update the system may take 15-20 minutes to update. Do not turn it off during this time.
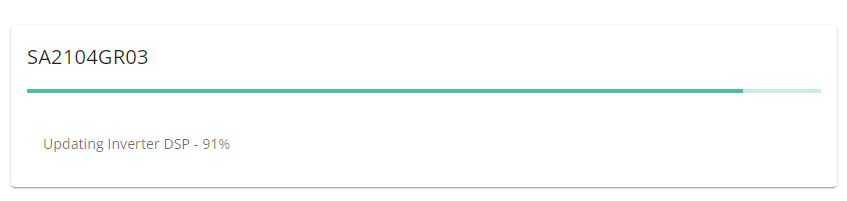
This will then go through an update procedure, if you find after 20 minutes this is still not complete, please manually restart the inverter.
Step 4 - Configure system
On here you can set the export limit to the grid.
Then press configure inverter

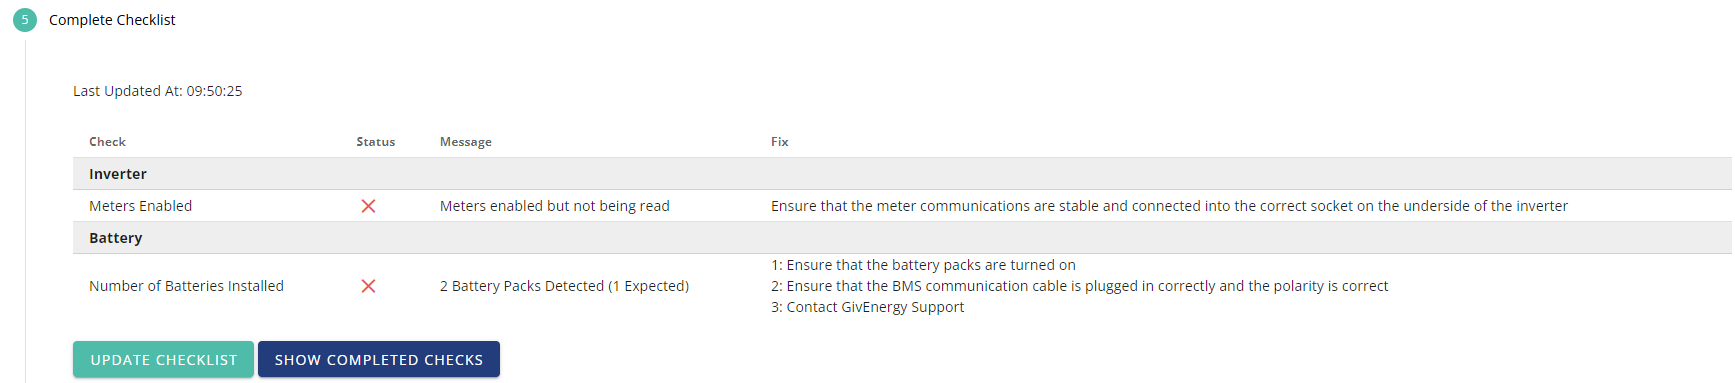
Step 5 - complete checklist
This section will check your info you input as per the systems configuration, it will run tests to ensure it's working. Please note that this will test readings for the load but if the CT is in the incorrect place as per the installation manual, it may still allow you to pass.
You can see a full list of the errors, and suggested fixes for the problems here - https://kb.givenergy.cloud/article.php?id=71&oid=1
Step 6 - Take photos
You will now need to upload 3 photos to the portal
Complete installation - a full photo covering the installation of the inverter and battery
Inverter AC supply breaker - the breaker in which the inverter is fed from
ID1 meter CT placement - A photo of the EM115 or OB115 meter CT
Press the file button then upload for each file

Step 7 - commission complete
Congratulations, the commission is complete.
Account details will be emailed to the customer, and the system will run through a calibration discharge/recharge, please advise the customer to not worry about the data for the first 24 hours while the system calibrates.
Additional notes - Removing a system
If you wish to add additional items to the inverter please delete the commission and start again.
Go to commissions > actions > delete
